Ultimate Field Box
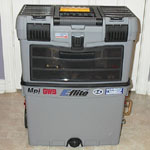
I wanted a field box that would acutally carry the stuff I needed to take to the field. The one I had before was my r/c car pit box, and though it had lots of nifty compartments for storing small parts it didn't have anywhere to keep a gallon of fuel or a starting battery.
At first I was looking at a Sig Mini-boss flight box but I wanted to use a battery that was larger than the standard 7ah dry cell because I planned on charging electric flight packs with it. I discussed some ideas with the guys on #RC_Chat and Nute suggested one of the roll around plastic tool carts that are available at lowes, wal-mart and home depot. He sent me some pics of his, but I wasn't completely sold on the idea. it looked rather large and bulky. I stopped by wal-mart a couple of days later and found one made by stanley but I didn't care fore the canvas pouch on the front of it. I went over to Lowes and found one made by MasterCart and after looking it over for a couple of minutes, I decided it would work prefectly. I spent the next week working on the box in my spare time to create an "ultimate field box" in my own flavor.
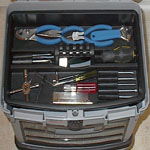
The top comparment is great for frequently used tools and parts, and I used the tray in the top compartment for hand tools and other misc. items.
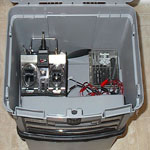
The section under the tray is large enough for two transmitters or whatever else you can fit.
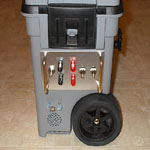
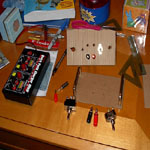
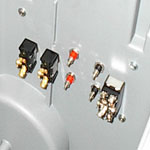
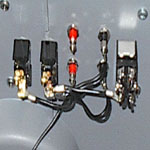
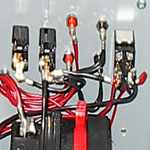
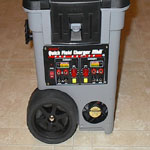
This is where it gets a bit creative. I made my own power panel using some switches and jacks from the local electronics store mounted through a piece of 16ga. aluminum. I installed 2 jacks for the starting motor and 2 jacks for whatever else I might like. On the right is a main power switch, and switch for the fan. On the left is a double-pole double-throw switch for the fuel pump. I added the aluminum because it looks snazzy and the double throw switch for the fuel pump was rather stiff and required some extra support. A guy at work gave me the brass desk drawer handles which really finished the panel. I tested the amperage draw of a stalled torkmaster 90 starter using an ammeter at work and found that it drew 42 amps at peak load/stalled so I wired the panel expecting loads around 50 amps to be safe. I installed my hobbico quick field charger mkII on the other side.
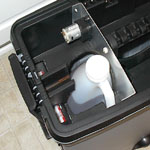
I melted a cutout in the lower tray using a cutting tip on my soldering iron after making cardboard templates based on a 1 gallon jug I had at work. The cut-out was a little bit bigger than the fuel jugs at the LHS but its better to be too big than too small. I remembered that Nute mentioned that he wished he hadn't cut out the handle on his tray so he could lock the tray to the bottom box and carry it around, so I discussed the options with a coworker and we came up with the aluminum brace that ties into the handle and sides of the tray, and also made a handy mount for the fuel pump I picked up at Hobby-Lobby. I also had to cut some of the tray out to make room for my hobbico quick field charger, as I had not mounted it low enough to clear the tray. (oops)
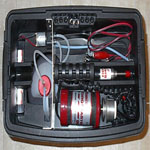
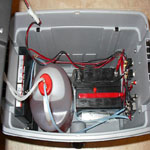
At first I tried to use a standard lawn mower battery in the bottom of it but I found that it didn't fit without modifying the 3rd wheel well and it also was a bit heavy. I ended up with a 19ah motorcycle battery from wal-mart which fit nicely and should provide enough power for a day or two at the field. I installed my charger at the other end of the box, and mounted a 12v computer fan below it to help ventilate the box to prevent any flammable fumes from accumulating. I also drilled some drain/vent holes in the bottom of the box, and created vent over by the power panel. I routed the fuel lines down to two openings below the power panel, and I simply stuff them back into the box when not in use. I had to modify a fuel jug cap fitting to form a sealed connection on the jug, and used a fuel filling probe on the hose to complete the circuit to the vent side when it's not in use.
